Step-by-Step Installation and Activation Guide
Welcome to our comprehensive guide for installing and activating our software! This page is designed to walk you through the entire process, ensuring you can get up and running quickly and easily.
What You’ll Find Here:
- System Requirements: Before you begin, check if your device meets the necessary specifications for optimal performance.
- Download Instructions: Step-by-step directions on how to download the software safely from our website.
- Installation Process: A clear, detailed walkthrough of the installation process, including screenshots to guide you at each step.
- Payment Options: Information on how to make your payment securely, along with tips for choosing the best payment method for your needs.
- Activation Steps: Instructions on how to activate your software after purchase, ensuring you can access all features right away.
- Troubleshooting Tips: Common issues and solutions to help you overcome any hurdles during installation or activation.
We’re here to support you every step of the way. If you have any questions or need further assistance, please don’t hesitate to reach out!
System Requirements:
To ensure optimal performance of our software, please install the .NET Desktop Runtime version 6.0.35 on your Windows system. This essential component enables the software to run smoothly and efficiently. You can download it directly from the official Microsoft site here. After installation, you’ll be ready to proceed with our software setup and enjoy all its features!
Download Instructions:
Downloading the Software
Below is a screenshot highlighting the download process for our software. This visual guide shows you exactly where to click and what to expect during the download. Follow the steps outlined in the image to ensure a smooth and hassle-free experience. If you encounter any issues, refer back to this screenshot for assistance!

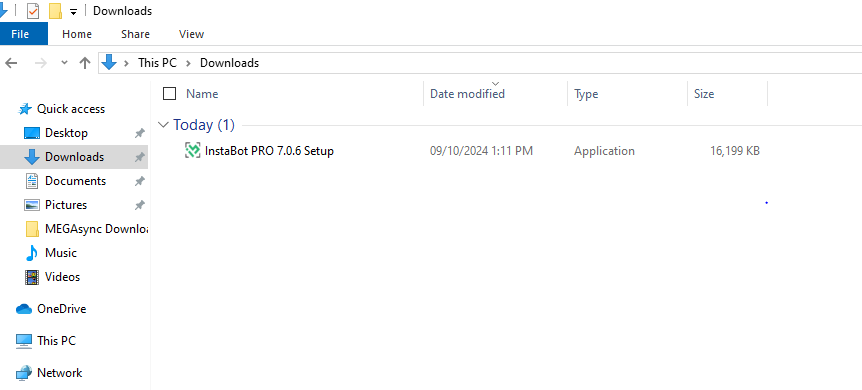
Pre-Installation Overview
In the screenshot below, you’ll see the software file before installation. This image provides a clear view of what to expect once you download the software. Ensure that you have the file ready before proceeding with the installation process.
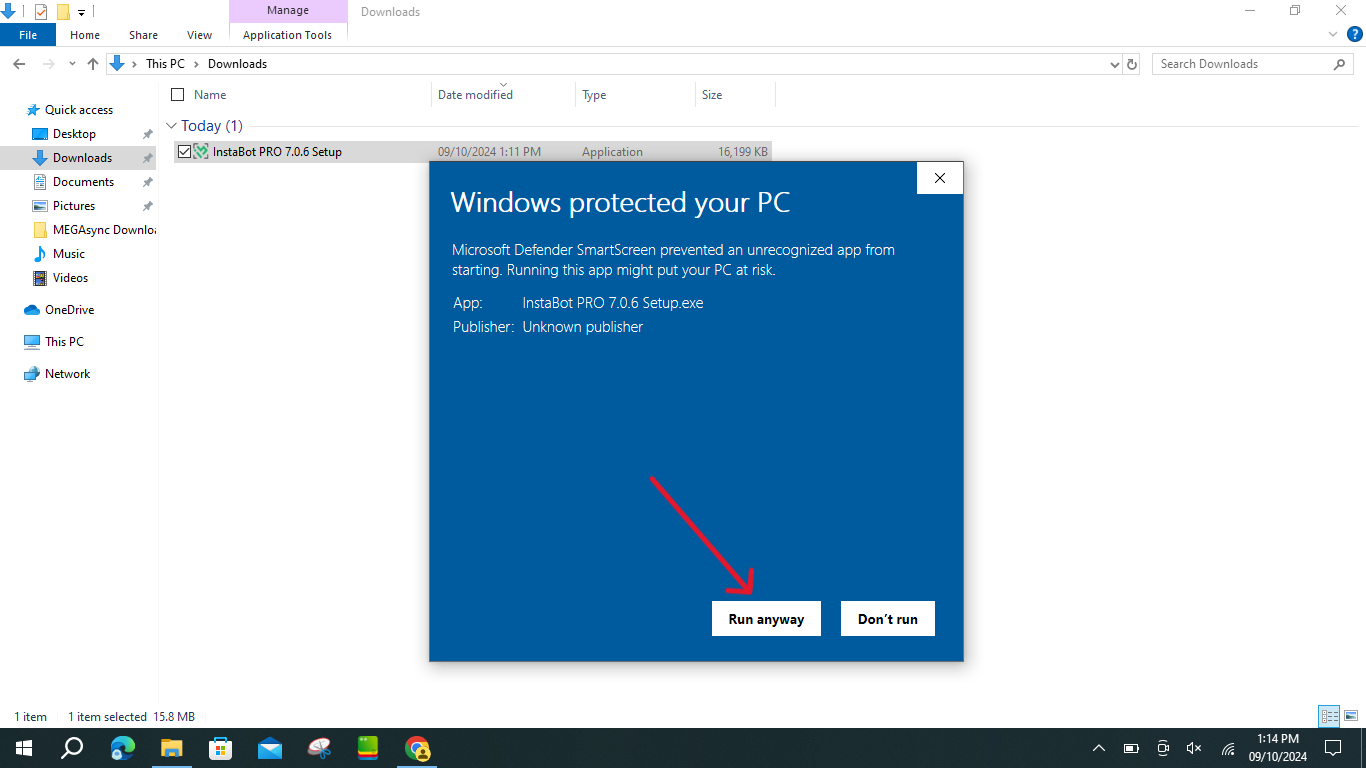
Windows Defender Warning
In the screenshot below, you’ll see a Windows Defender popup indicating that “Windows protected your PC.” This is a standard security measure that may appear during installation. To proceed with the installation, simply click the “Run anyway” button. This will allow the software to install safely on your device. If you have any concerns, rest assured that our software is secure and thoroughly tested.
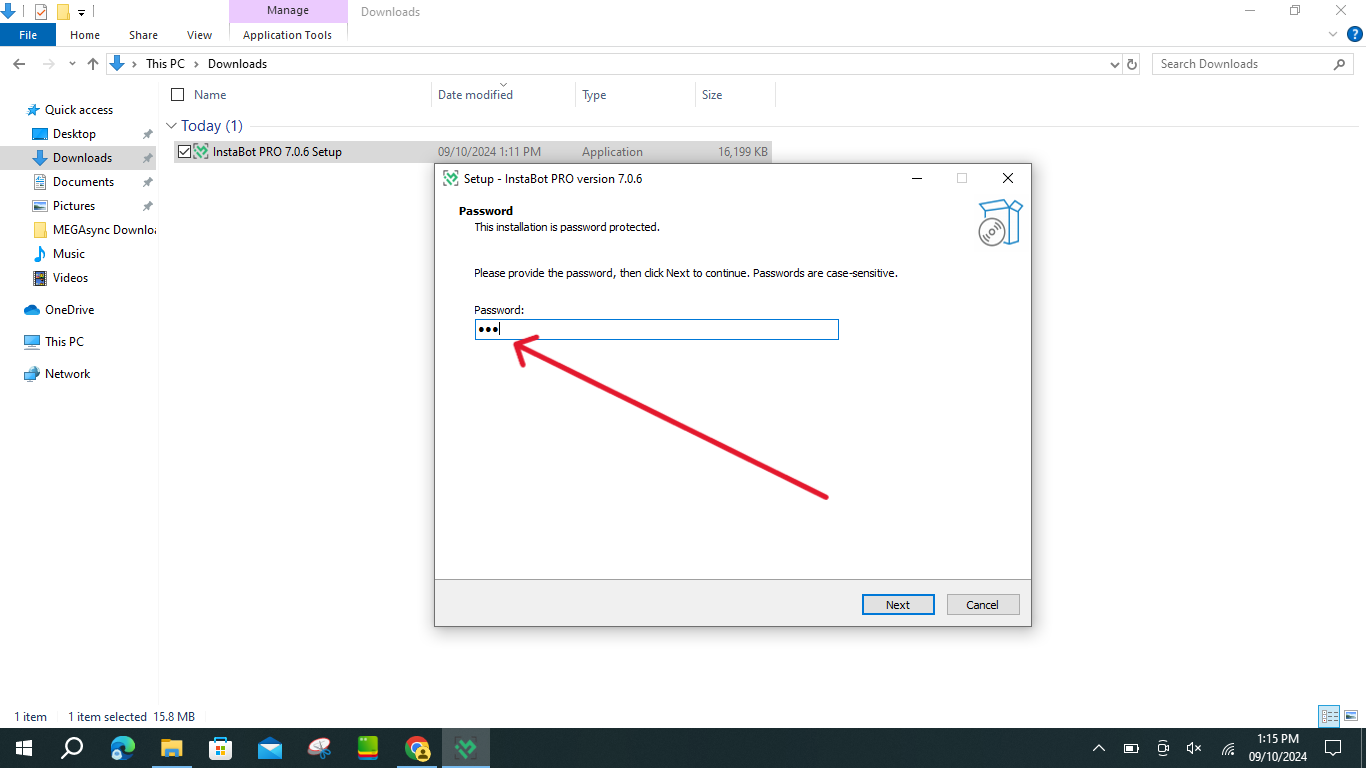
Password Protection
In the screenshot below, you’ll see a message indicating that the installation is password protected. To continue with the installation, please enter the password: 123.
Installation Process
Opening the Software for Activation
In the screenshot below, you’ll see the software icon located on your desktop. To begin the activation process, simply double-click the icon. This will launch the software and guide you through the activation steps.

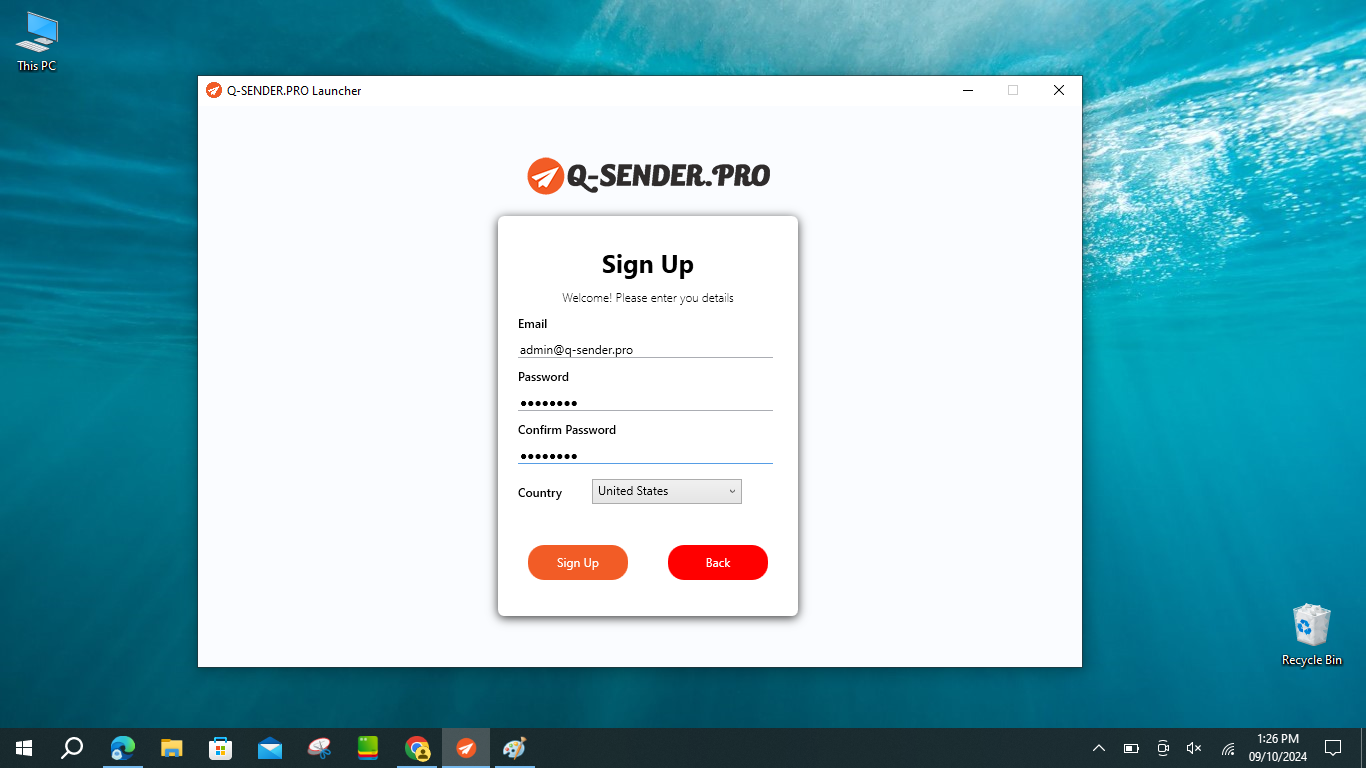
Filling Out the Signup Form
In the screenshot below, you’ll see the signup form within the software. Please fill out this form with your account details to create your profile. Make sure to enter all required information accurately to ensure a smooth setup. Once you’ve completed the form, you’ll be one step closer to using the software!
Payment Options
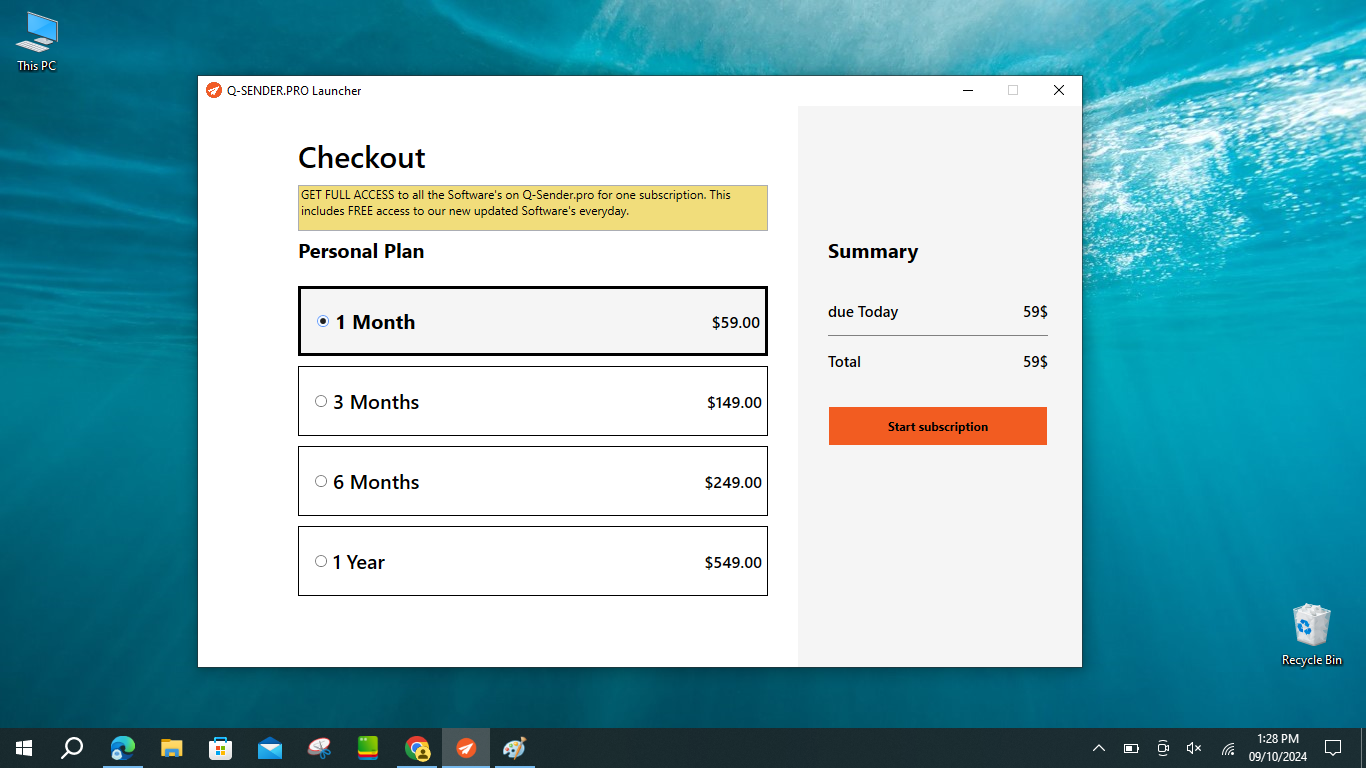
Logging In and Choosing a Subscription
After successfully signing up, you’ll need to log in to the software using your account details. Once logged in, you’ll be directed to the subscription page, where you’ll find four subscription options: 1 month, 3 months, 6 months, and 1 year.
Choose the subscription that best fits your needs and click the “Start Subscription” button to begin the payment process. This will guide you through securing your subscription and accessing all the features of the software!
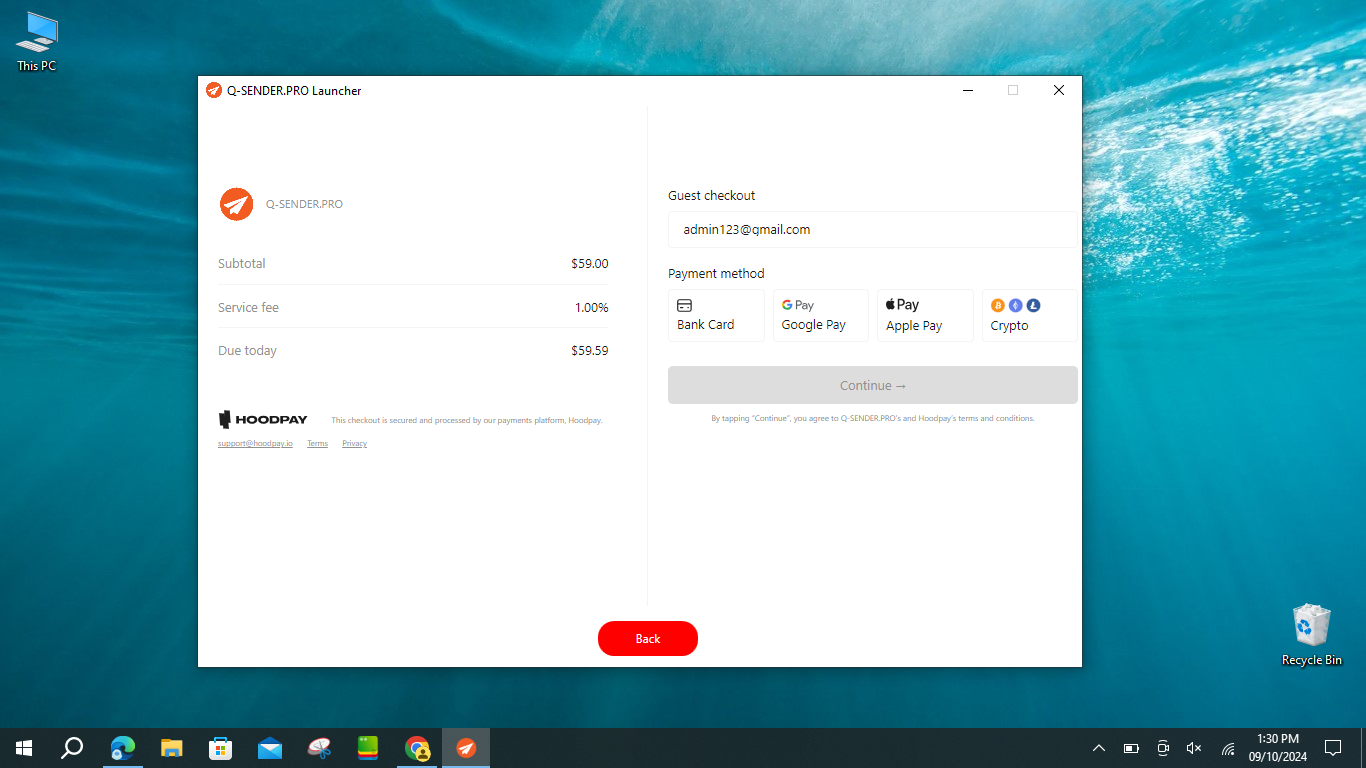
Payment Gateways
After clicking on “Start Subscription,” you will be redirected to the payment options page within the software. Here, you’ll see multiple payment gateways available for your convenience, including Bank Card, Google Pay, Apple Pay, and Crypto.
Simply select the payment method that works best for you to complete your subscription payment. Once the payment is processed, you’ll gain full access to all the software features!
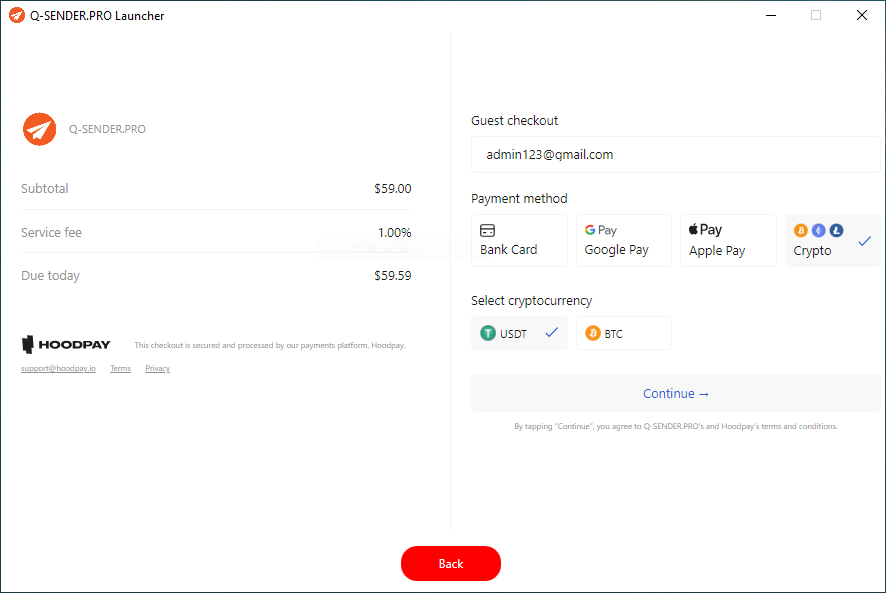
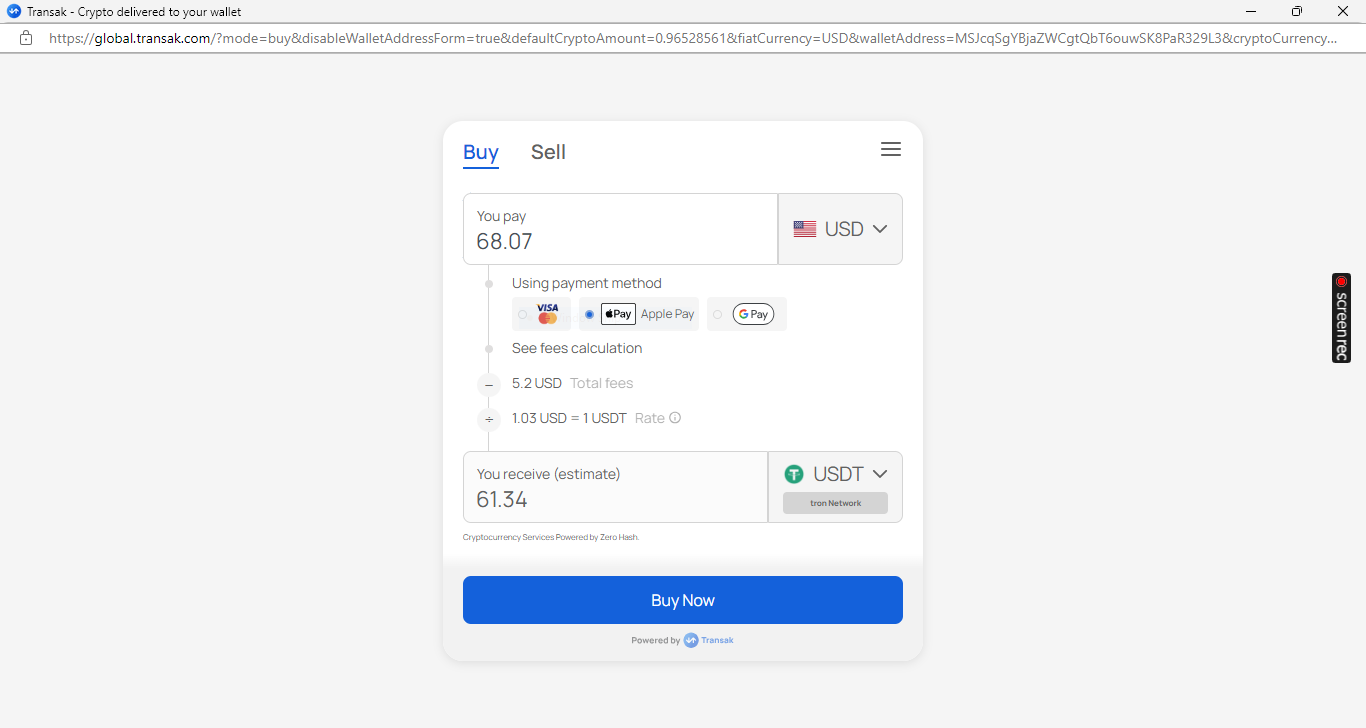
Crypto Payment
If you choose the Crypto option, you must select one of the available cryptocurrencies under “Select Cryptocurrency.” You can choose between USDT and BTC. After making your selection, proceed with the payment to complete your subscription.
Card Payment Process
In the screenshot below, you’ll see the page users are redirected to when selecting card payment. Here, you can enter your card details to complete the payment for your subscription.
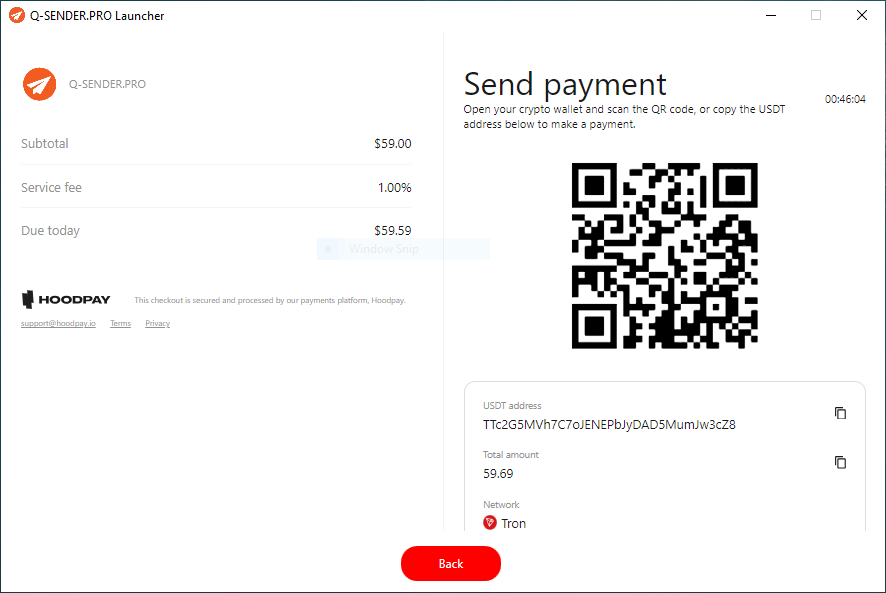
Final Step: Payment Confirmation
Once your payment is processed, you’ll be directed to the payment confirmation form page. This is where you need to submit your payment proof to finalize your subscription. Completing this step is essential to gain access to all the features of the software. Thank you for your cooperation, and enjoy using our software!